
When it comes to the success of your restaurant, the layout matters as much as the food or service. Poor floor planning slows staff, limits table turnover, and compromises the guest experience. Yet it’s one of the most overlooked aspects of restaurant development.
Designing a restaurant space must start with accounting for and measuring every square foot against compliance standards and revenue potential. From kitchen layout to dining room flow, the goal is to create a space that operates efficiently at full capacity without compromising comfort or safety.
This guide provides a complete, operationally sound approach to restaurant floor plan design. It breaks down how to structure your layout, optimize seating, and allocate space to support service execution and guest satisfaction. Let’s start with the fundamentals.
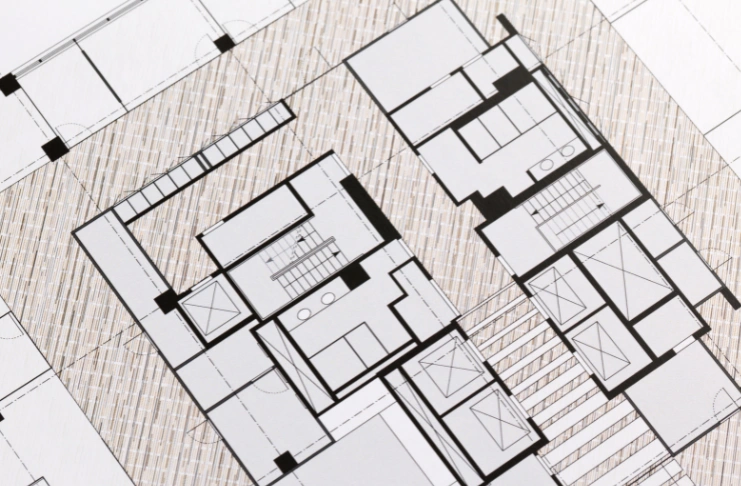
What Is a Restaurant Floor Plan?
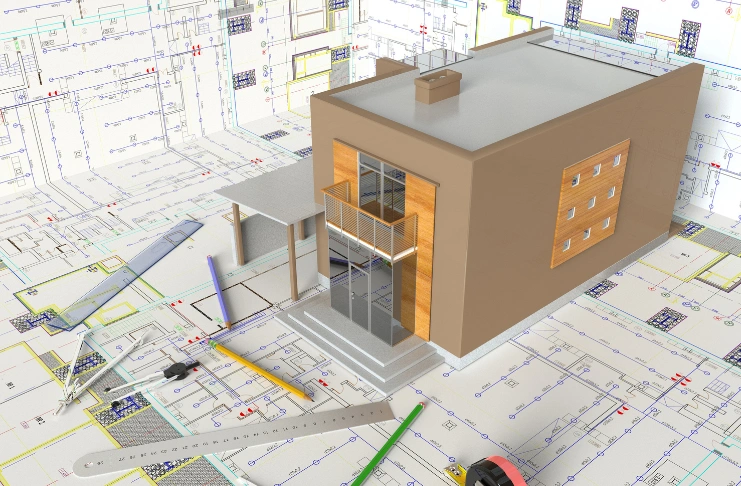
A restaurant floor plan is a scaled, overhead diagram of your physical space. It maps out every functional zone [kitchen, dining room, bar area, waiting area, restrooms, emergency exits, and service corridors] with precise square footage allocations.
A well-structured restaurant floor plan considers guest movement, staff workflow, visibility, noise control, and access to utilities. Plus, it factors in local building codes, ventilation systems, fire safety paths, and ADA compliance. Every element must serve the dual purpose of supporting operational efficiency and enhancing the guest experience.
Key components of a restaurant floor plan are:
- The restaurant’s kitchen layout, including food prep areas, cold storage, dishwashing stations, and ventilation zones
- Dining room floor plan, which accounts for tables, booths, bar seating, and circulation space
- Waiting area in the line of sight of the host station with adequate elbow room
- Payment stations and POS terminals with minimal customer interference
- Bathroom layout with direct access from the dining area, separate from the kitchen
- Outdoor seating configurations, where permitted, with proper ingress and egress routes
- Emergency exits, marked and unobstructed per local building codes
- Electrical outlets, HVAC units, and other infrastructure points that are important to food service operations
Whether you work with floor plan templates or design your space from scratch, you must focus on operational clarity. The more precise your layout, the fewer compromises you’ll face once the doors open.
Why Does Your Restaurant Floor Plan Matter?
Your restaurant floor plan is more than just an architectural drawing. It’s the blueprint for your entire operation. A thoughtfully designed floor plan can:
- Increase seating capacity without sacrificing comfort
- Improve staff efficiency and service speed
- Enhance the overall restaurant experience
- Optimize kitchen workflow and food preparation
- Ensure compliance with building codes and safety regulations, and
- Create the right ambiance for your concept
Restaurant floor planning directly impacts your bottom line. Proper space planning allows you to accommodate more guests while maintaining service quality, potentially increasing revenue without expanding your physical space.
What Are the Essential Components of a Restaurant Floor Plan?
Effective restaurant floor planning is all about gaining control. You’re engineering a space where time, movement, and revenue per square foot are tightly managed. An efficient restaurant floor plan allows the operation to scale without chaos, manage peak-hour crowds, and offer seamless service.
Entrance and Waiting Area
The entrance sets the tone for the entire dining experience. Your waiting area should be welcoming and functional, with enough space to accommodate waiting guests during peak hours. Consider including a host stand or reception desk, comfortable seating for waiting guests, a clear view of available tables, adequate space for traffic flow, and menu displays.
For most restaurants, 20 square feet per person for small chairs in waiting areas, with a minimum of 80 square feet overall, works well.
Dining Area
The dining space requires careful consideration of table sizes and configurations, aisle width between tables, traffic patterns for servers and guests, views and privacy considerations, and seating arrangements for different group sizes.
Industry experts recommend reserving 40-60% of the total space for the dining room.
Kitchen and Food Prep Areas

Your kitchen layout directly influences service efficiency. As a result, it should create a smooth workflow from food prep to plating and service. So, when planning the space, you must consider workstations for different preparation tasks, equipment placement, storage space requirements, a dishwashing area, food pickup areas for servers, and ventilation and fire safety compliance.
Typically, restaurant kitchens occupy 25-40% of the total floor plan, depending on your concept and menu complexity.
Additional Key Spaces
A complete restaurant floor plan must also account for:
Bar Areas: Bar seating capacity, workspace for bartenders, liquor storage, and visual appeal
Restrooms: Adequate facilities based on seating capacity, accessibility compliance, and proper distance from dining areas
Storage Space: Areas for dry goods, refrigeration, beverage storage, and cleaning supplies
Administrative Areas: Office functions, staff breaks, payment station processing, and technology infrastructure
What Are the Common Restaurant Floor Plan Types and Layouts?
Different service styles and concepts require a different approach to the floor plan. Here are the most common restaurant floor plan templates:
Open Floor Plan
An open restaurant floor plan creates a spacious, airy feeling with few walls or partitions. This layout works well for casual dining concepts where energy and interaction are valued. The benefits include maximized dining space, flexibility for rearranging tables, enhanced social atmosphere, and better server visibility of tables.
Divided Floor Plan
A divided restaurant floor plan uses partitions, half-walls, or different levels to create distinct areas within the dining room. Fine dining establishments often use divided floor plans to create private dining experiences.
Advantages include creating intimate spaces within a larger restaurant, accommodating different types of diners, controlling noise between sections, and establishing visual interest.
Service-Specific Layouts
Depending on your restaurant type, you might also consider:
Assembly Line Layout: Popular in quick-service restaurants, this layout guides customers through a linear ordering process from entry and menu displays to the ordering counter, payment station, food pickup, and seating.
Counter Service Layout: This layout is perfect for coffee shops and casual concepts. It features a prominent service counter with limited table seating and efficiently uses limited space.
Outdoor Seating: Can significantly expand capacity, requiring consideration of weather protection, heating/cooling needs, access to service areas, and local regulations.
How Do Floor Plans Vary by Restaurant Concept?
Your restaurant’s concept dictates how the floor plan should be designed. For example, a quick-service outlet doesn’t operate like a fine dining venue, and neither of them follows the spatial logic of a hybrid café-bar model.
That’s why your restaurant layout decisions must align with the type of service model you’re running, the customer dwell time, and the average seating capacity you need per shift.
Below are the most widely used floor plan types across the restaurant industry:
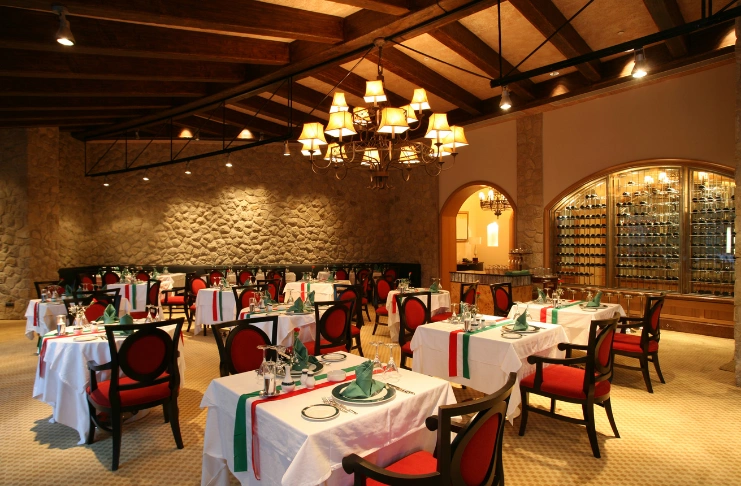
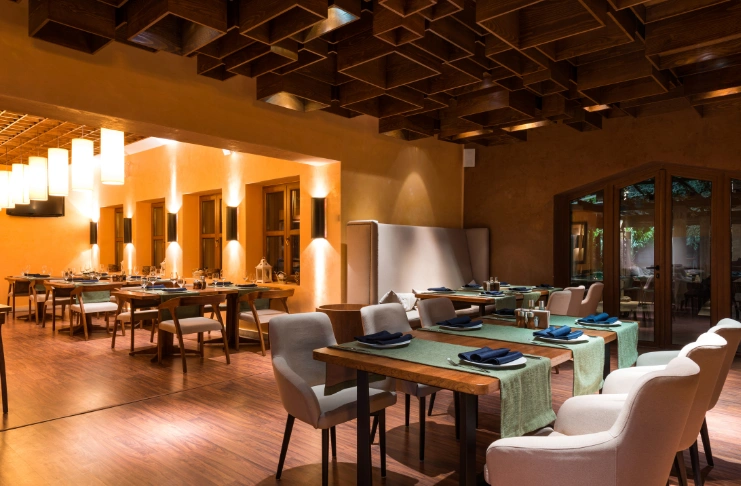
Fine Dining Floor Plans
Since a fine dining restaurant operates on formal service and elegant ambiance, it typically requires larger square footage per table. It often also accounts for space between nearby tables, dedicated wine storage, bar seating, or even private dining rooms. Plus, it focuses on lighting, acoustics, and guest privacy.
As a rule, fine-dining layouts typically reserve 60% of the total square footage for the dining room floor, with spacious circulation paths for plated service.
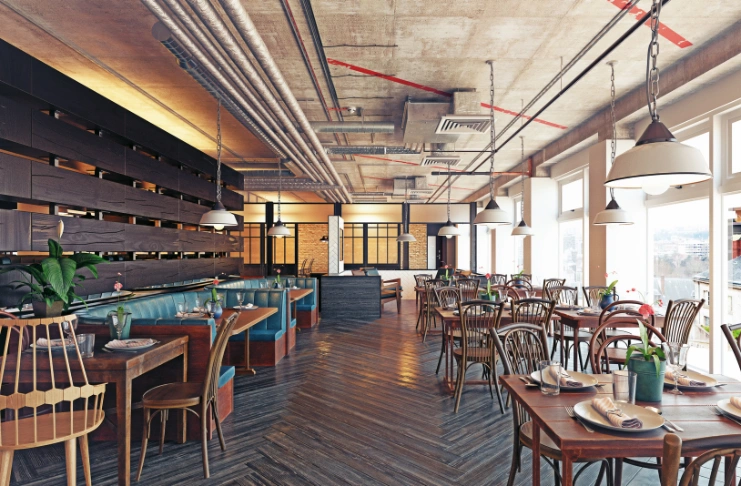
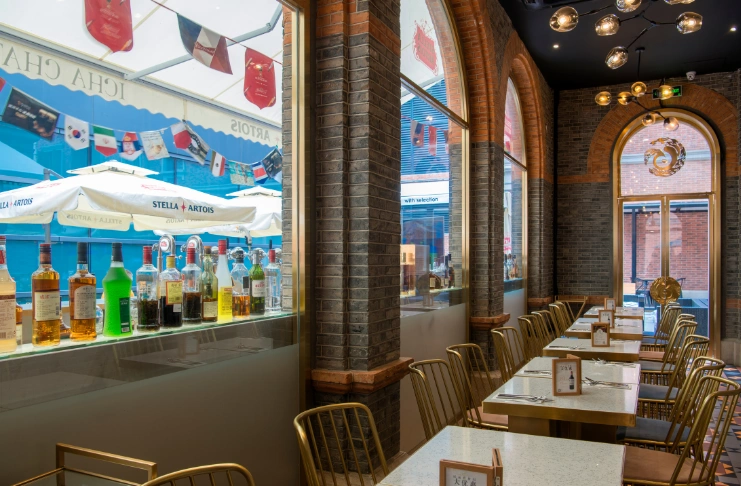
Casual Dining Layouts
These prioritize output without compromising on comfort. Booths, freestanding tables, and moderate bar areas are common.
The floor plan is often more modular, allowing tables to be rearranged to accommodate large parties. Payment stations are integrated within easy reach of servers to keep the dining room workflow uninterrupted.
Fast Casual or QSR (Quick Service Restaurant)

It focuses on speed and compact design. The kitchen layout and food prep areas dominate the space, with a smaller dining area for short-stay guests.
Waiting area space is maximized for efficient takeout operations, and payment stations are optimized for self-serve kiosks or rapid counter service.
Café and Coffee Shop Plans
These restaurants are often built within limited space, so the focus shifts to flexible seating, with small tables, window bars, or even communal setups. The square footage is usually split more evenly between the kitchen and dining area, with extra thought given to ambiance, foot traffic, and visibility from the street.
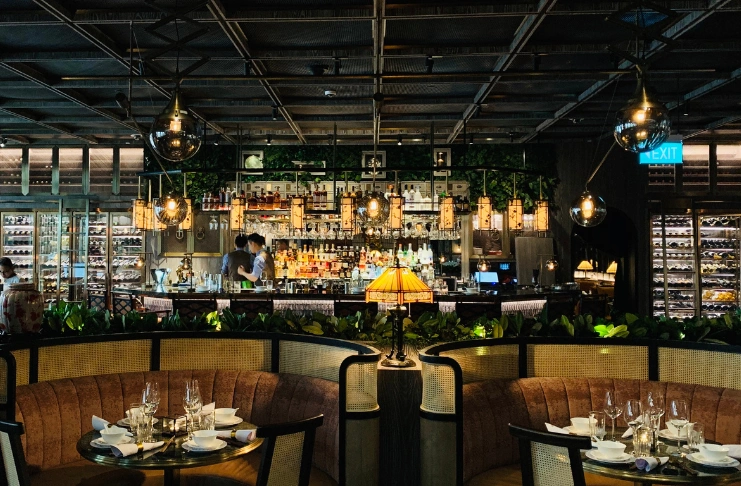
Hybrid or Multi-Zone Layouts
Hybrid restaurants that offer dine-in, delivery, and events need adaptable floor plans. That often means using partitions, retractable walls, and clearly marked pickup counters to keep things organized. Many also add outdoor seating to increase capacity without expanding the indoor space.
Each model has specific restaurant floor plan considerations, such as zoning laws, HVAC requirements, staffing workflows, and customer expectations. Selecting the wrong layout type for your concept results in inefficiencies that are difficult (and expensive) to reverse.
How can the Right Seating Arrangement Maximize Capacity and Comfort?
The right mix of seating options can maximize your dining room floor plan:
Tables and Chairs: Standard 2-top, 4-top, and 6-top tables with adjustable configurations for larger parties. Mind that table shapes matter a lot. Round tables foster conversation while rectangular tables optimize space.
Booths and banquets are space-efficient seating options that naturally guide traffic flow and appeal to guests who prioritize comfort and privacy. Banquettes, with built-in seating along walls, maximize seating in limited space while creating a distinctive design element.
Bar and Communal Seating: Bar seating attracts solo diners and creates energy, while communal tables accommodate larger groups or combine smaller parties to maximize seating capacity.
INDUSTRY INSIGHT
| A study confirms that 72% of diners prioritize ambiance and spatial comfort when choosing a restaurant. That’s why finding the right balance of seating density is crucial. Too crowded creates an uncomfortable dining experience and difficult service; too sparse results in inefficient use of space and revenue loss. According to restaurant design experts, fine dining restaurants should typically allocate 18-20 square feet per seated guest, while casual dining can function well with 15-18 square feet per person. Quick-service restaurants, on the other hand, may operate effectively with 10-15 square feet per person. This underscores the importance of thoughtful floor planning—not just for efficiency, but for long-term profitability. A well-balanced layout can enhance guest experience, streamline service, and boost retention rates. |
How Do Floor Plan Requirements Differ by Restaurant Type?
Different restaurant concepts have unique floor plan requirements that affect everything from seating density to kitchen configuration.
Fine dining requires more space per guest, dedicated areas for tableside service, enhanced kitchen space for complex food preparation, and elegant waiting areas. Casual dining strikes a balance with moderate seating density, flexible arrangements, and family-friendly considerations.
Quick-service restaurants focus on higher seating density, efficient counter service, and high-turnover seating design. Cafés and coffee shops need a balance of seating: some that turn over quickly and some that let people stay longer. That means designing around counter service while still planning for guests using laptops.
How Do You Calculate Restaurant Seating Capacity?
To calculate the basic seating capacity of any restaurant:
- Determine your dining area square footage
- Subtract non-seating areas (walkways, waiting areas, etc.)
- Then divide the remaining space by the square footage needed per guest (varies by concept)
For example: A 2,000 sq ft dining area with 500 sq ft of non-seating space leaves 1,500 sq ft for seating. At 15 sq ft per person for a casual dining restaurant, this equals a capacity of 100 guests.
Optimizing Seating Mix
To maximize seating capacity while maintaining comfort, consider having different table sizes to accommodate different parties. For instance, you can place larger tables in corners where they won’t disrupt traffic, use booths along walls to define dining zones, and consider flexible configurations that you can adjust later as needed.
Building Code Considerations
The maximum capacity of a restaurant is also governed by local building codes and occupancy limits, fire safety regulations, bathroom facility requirements (on average, 18-20 square feet per person), emergency exit requirements, and accessibility standards.
When you’re finalizing the floor plan, it is worth consulting local building codes and getting input from an interior designer who understands restaurant regulations. That way, you won’t be fixing expensive mistakes later.
How Can Traffic Flow Be Optimized in a Restaurant?

Efficient traffic flow prevents congestion, improves service, and enhances the dining experience. Design your restaurant floor with designated pathways for servers with direct routes between the kitchen and dining areas. This will help servers avoid crossing paths with customers while still monitoring multiple tables. Having logical service stations throughout the dining room also improves the flow.
Now guests also need that same sense of ease. Your floor plan should allow smooth customer movement with a clear path from the entrance to the host stand, an intuitive route to tables, unobstructed access to restrooms, a comfortable distance between nearby tables for privacy, and an easy exit path.
Minimize the distance between food prep areas and dining areas to ensure food arrives at optimal temperature, increase server efficiency, reduce the risk of accidents, and improve overall service speed.
What Are Key Considerations for Kitchen and Back-of-House Planning?
While the dining room gets most of the attention, back-of-house areas are equally important to your restaurant floor plan. A well-planned kitchen makes service faster, safer, and a lot less stressful for the team.
An efficient kitchen normally has clearly defined areas for receiving and storage, prep, the cooking line, plating, dishwashing, and waste handling. The classic kitchen layouts include:
- Assembly Line: Linear workflow for high-volume operations
- Zone: Separate stations for different preparation types
- Island: Central cooking suite with workstations around the perimeter
- Galley: Parallel workstations for smaller spaces
Remember to reserve space for staff break rooms, admin offices, maintenance storage, tech infrastructure, and delivery receiving.
How Should Technology Be Integrated into a Restaurant Floor Plan?

Technology should be built into your restaurant layout from the beginning. Think about where POS terminals make the most sense so staff isn’t crowding, where payment stations won’t interrupt the flow of the dining room, and how many outlets and network points you’ll actually need.
The kitchen setup should also allow for display screens and ticket systems without getting in the way of the line. The restaurant’s physical space must accommodate current technology needs and allow for future expansion and upgrades as the space evolves.
What Accessibility and Safety Standards Must Be Met When Designing a Floor Plan?
Your restaurant floor plan must meet accessibility and safety regulations. This means creating accessible entrances and pathways (minimum 36″ wide), a wheelchair-required turning radius (60″ diameter), appropriate table heights and clearances, accessible restroom facilities, and ramps where needed.
Emergency planning is part of the layout, too. Clearly mark and maintain accessible exits, provide enough for your occupancy, keep exit paths open, and comply with all fire-safety rules.
It’s also important to plan for everyday safety, including fire-suppression systems, proper lighting, first-aid provisions, and basic security measures.
What Is the Step-by-Step Process for Designing a Restaurant Floor Plan?

Creating an effective restaurant floor plan requires methodical planning and consideration of both practical and aesthetic elements. This step-by-step process will guide you through developing a floor plan that optimizes your restaurant space.
Step 1: Assess Your Space and Needs
Start by assessing the physical space you’re working with. Measure the total square footage accurately, noting any fixed elements like support columns, existing plumbing, or immovable walls. At the same time, think about your concept, service style, and the type of guests you expect. All of this will influence how you divide up the space.
A fine-dining restaurant won’t plan its layout the same way a fast-casual spot would. Write down your expected guest capacity, peak service times, and average dining duration to work out a realistic seating plan.
Finally, determine how many staff will be on the floor during peak hours, and make sure the layout gives them enough room to move and work comfortably.
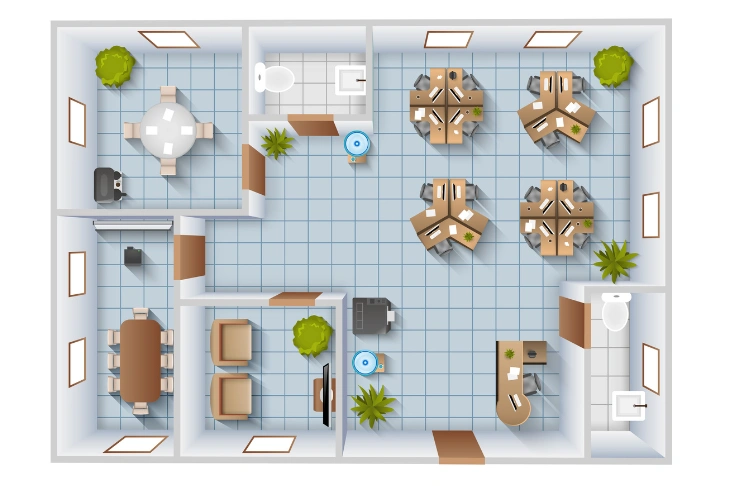
Step 2: Allocate Space by Zone
Divide your total space into functional zones based on these industry best practices:
- Front-of-house (dining area): 60% of total space
- Back-of-house (kitchen and storage): 40% of total space
- Within dining areas, allocate 5-10% for entrance and waiting areas
In a 3,000-square-foot restaurant, that works out to roughly 1,800 square feet for dining and 1,200 square feet for the kitchen, storage, and staff areas.
Since these proportions aren’t fixed, adjust them based on your specific concept. Quick-service restaurants might need proportionally more kitchen space, while lounges might allocate more to seating areas.
Step 3: Create Preliminary Sketches

Before moving forward, create bubble sketches that show the relationships between the different zones. These sketches help visualize how customers and staff will flow through the space. Consider:
- The path from the entrance to the tables
- The server routes between the dining room and the kitchen
- Traffic patterns to and from restrooms
- Kitchen workflow from delivery to food preparation to service
These preliminary sketches help identify potential bottlenecks or layout issues before you lock in the final plan.
Step 4: Design Your Kitchen Layout
The kitchen is the core of your restaurant operation, so plan this area first. Align the kitchen layout with the service style, as it will impact the rest of your floor plan.
For full-service dining:
- Island configuration with a central cooking area
- Zone-based layout for specialized preparation stations
For quick-service concepts:
- Assembly line format for efficiency
- Galley-style for smaller spaces
Ensure your kitchen has adequate space for food preparation, cooking, plating, dish return, and storage. Position the kitchen pickup area to minimize the distance servers must travel to dining areas.
Step 5: Plan Dining Room Seating
With your kitchen layout finalized, start planning seating for the dining area. Consider having:
- A mix of table sizes based on your typical customer groups
- Table spacing (15-18 square feet per seated guest for casual dining)
- Sightlines and privacy considerations
- Server stations that comfortably cover 5-8 tables each
Aim for a balanced mix of 2-tops, 4-tops, and a few larger tables or booths. Place bigger tables where they won’t interrupt traffic flow. Banquettes or booths along the walls can help you fit more seats while also adding character to the room.
Step 6: Define Secondary Spaces
Now, address the remaining areas of your restaurant floor plan:
- Entrance and waiting area with the host station
- Bar area (if applicable)
- Restrooms (following local building codes for number and size)
- Staff areas, including break rooms and offices
- Storage for supplies, linens, and equipment
- Outdoor dining space (if applicable)
Ensure these areas connect logically with both the dining room and the kitchen, and the flow between them is clear and easy to follow.
Step 7: Review for Compliance and Efficiency
Before finalizing your floor plan, verify that it meets all regulatory requirements, such as:
- ADA accessibility standards (36″ aisles, wheelchair turning radius)
- Fire safety regulations and emergency exit requirements
- Health department specifications for food service areas
- Local building codes for occupancy limits
Next, test your floor plan by walking through typical scenarios: How would a party of four be seated? How would servers handle multiple tables during rush periods? Where would delivery personnel bring supplies? This way, you can adjust your plan based on the scenarios to prevent any operational problems later.
Step 8: Finalize with Professional Input

Convert your refined plan into detailed floor plans with exact measurements using restaurant floor planning software or by working with a professional designer. Consider consulting with:
- An interior designer with restaurant experience
- A kitchen equipment specialist
- Staff members who will work in the space
Professional input can identify potential issues and opportunities you might have overlooked and ensure your restaurant floor plan is both functional and appealing.
Step 9: Visualize the Final Design
Create 3D renderings or models of your floor plan to better understand how the space will look and function. This visualization helps evaluate:
- Sight lines throughout the restaurant
- Aesthetic appeal and ambiance
- Light distribution and acoustics
- Overall customer experience
These visualizations are also valuable for training staff and marketing your restaurant before opening.
By following this process, you’ll create a restaurant floor plan that not only looks good but functions efficiently, helping to ensure the success of your food service operation.
What Tools and Resources Help With Restaurant Floor Planning?
Several tools can help you create professional restaurant floor plans. Some options include software like AutoCAD, SketchUp, and SmartDraw. Many restaurant floor plan templates are also available online.
Think about hiring restaurant-focused interior designers, consultants, or architects. This is especially useful if you’re dealing with complicated layouts, heritage sites, upscale projects, or any space with unique limitations.
What Are Common Restaurant Floor Plan Mistakes to Avoid?

Here are some common floor planning mistakes to avoid to create a more successful restaurant space:
Insufficient Aisle Space: The minimum recommended width is 36″ for secondary aisles and 42″ or wider for main traffic paths. Too narrow creates service bottlenecks and customer discomfort.
Poor Table Spacing: Tables that are placed too close impact the dining experience and privacy, while tables placed too far apart waste valuable space and make service inefficient.
Inadequate Waiting Area: Small waiting areas lead to congestion at the entrance and give a poor first impression.
Distance Between Kitchen and Dining Room: If the kitchen is too far from the dining area, food takes longer to reach the table, and service slows down. A poorly placed kitchen also forces servers to walk more than necessary, which hurts efficiency.
Restroom and Storage Issues: Problems often arise when restrooms are too visible from the dining room, aren’t easily accessible, or there aren’t enough facilities for your guest count. Plus, limited storage can affect daily operations, especially during busy periods.
What Are Optimization Strategies for Your Floor Plan?
Enhance your restaurant floor plan with these expert strategies:
Flexible Seating Options: Use tables that can be pushed together for larger groups, create movable dividers to adjust space as needed, and consider convertible spaces that change function throughout the day.
Strategic Table Mix: Analyze your typical party sizes, create the right balance of 2-tops, 4-tops, and larger tables, and position tables to maximize comfort and capacity.
Space Utilization: Make use of vertical space for storage and design features. Built-in seating, like banquettes, can save space, and multipurpose zones can help the same area serve multiple purposes.
Atmosphere Zones: Design different areas with varying levels of energy/intimacy. This involves using lighting to define spaces without walls or incorporating acoustics into your layout decisions.
How Should a Restaurant Floor Plan Evolve Over Time?

Your restaurant floor plan should evolve as your business grows. To do this, watch how guests and staff move through the space, look for bottlenecks or dead zones, and adjust the layout based on what you see in day-to-day service.
It is also important to plan for seasonal adjustments with outdoor seating expansion in favorable weather, convertible spaces for different seasons, and layouts for seasonal business fluctuations.
Develop phased expansion plans, identify flexible areas that adapt to changing needs, and create modular design elements that can be reconfigured as your restaurant grows.
Conclusion
Creating an effective restaurant floor plan requires balancing multiple factors: operational efficiency, customer comfort, regulatory compliance, and aesthetic elements.
The right layout enhances the dining experience and improves your restaurant’s profitability by optimizing seating capacity and service efficiency. Use the strategies in this guide to shape a floor plan that works for your customers and supports your business goals.
Frequently Asked Questions
1. What makes a good restaurant floor plan layout?
A good restaurant floor plan layout ensures efficient movement, maximizes seating without overcrowding, and supports both staff workflow and guest comfort. It balances front- and back-of-house needs while complying with building codes.
2. Which layout is best for a restaurant?
The best layout depends on the concept and service style. Open layouts suit casual dining, segmented layouts enhance fine dining, and assembly-style plans work best for quick service. The ideal plan supports your operations and guest flow.
3. How should a restaurant be designed?
Start with your concept, then decide how to divide the space—typically 60% front-of-house, 40% back. From there, prioritize kitchen efficiency, customer flow, and code compliance. Design with your target customer, staff movement, and service speed in mind.
4. How to arrange a simple restaurant?
Focus on a clear entrance, efficient kitchen, and well-spaced tables. Keep aisles open, avoid clutter, and place key elements like the host stand, restrooms, and payment station for intuitive access.
5. How to calculate seating for a restaurant?
Divide your usable dining area by seat spacing: 15–18 sq ft per person for casual, 18–20 sq ft for fine dining. A 1,200 sq ft area typically seats 70–80 guests. Adjust for code-based occupancy limits.
6. How do you plan a seating arrangement?
Plan seating by mixing table sizes, placing booths along walls, and maintaining at least 36″ aisle spacing. Organize server stations logically and keep pathways to exits and restrooms unobstructed.
7. What are the two ways to organize seating in a restaurant?
Seating can be fixed (booths, banquettes) or flexible (movable tables/chairs). Most restaurants combine both to adapt to varying party sizes and service needs.
8. What are the three types of seating arrangements?
Standard table seating, booth seating, and bar/counter seating. Each supports different guest preferences and space utilization goals.
9. How do you come up with a good floor plan?
Start with a clear concept. Define area needs, map traffic flow, sketch preliminary layouts, and refine using restaurant floor planning software. Verify compliance with codes and test for real-world functionality.

